Blog > Sage 100 Credit Card Processing: Complete Setup Guide
Sage 100 Credit Card Processing: Complete Setup Guide
B2B payment expectations have shifted a lot over the past several years. More customers want to pay by credit card, and they want the process to be simple. For businesses running on Sage 100, that creates a real operational question: how do you accept card payments in a way that actually works with your accounting software, rather than creating more work around it?
The answer isn’t just finding any payment processor. It’s finding one that’s built specifically for Sage 100, configured correctly from day one, and integrated deeply enough that payments take care of themselves. This guide walks through everything you need to know, from what to look for in a solution to how to set it up step by step.
Why Sage 100 Credit Card Processing Is Its Own Category
There’s a meaningful difference between processing credit cards and processing them inside Sage 100 ERP. A standalone terminal or a generic payment gateway can capture a card number and move money, but it has no connection to your invoices, your general ledger accounts, or your AR aging report. That means someone on your team is still manually matching payments to open invoices and keying data into the system by hand.
That manual step introduces errors, slows down reconciliation, and defeats the purpose of running an integrated ERP in the first place.
A native Sage 100 integration means the payment processing solution lives inside your Sage environment. When a customer pays, the invoice updates, the payment posts to the correct GL account, and your AR reflects the change in real time. No double entry. No end-of-day reconciliation spreadsheet. The payment just lands where it’s supposed to.
What to Look for Before You Commit to a Solution
Not all payment processing systems are built the same, and choosing the wrong one creates problems that are frustrating to untangle after the fact. Before signing with any provider, here’s what actually matters for Sage 100 users.
Native integration is non-negotiable. The processor should be built to work inside Sage 100 software, not connected through middleware or a third-party bridge that requires its own maintenance.
Support for multiple payment types matters because your customers don’t all pay the same way. Credit card, ACH, and eCheck support gives your customers flexibility and keeps cash moving regardless of how a specific account prefers to pay.
Tokenization and PCI DSS compliance take card data off your servers entirely. When a card is tokenized, the actual number is replaced with a secure token that’s useless to anyone who intercepts it. This is how a good payment processor keeps your business out of PCI scope.
Surcharging capabilities are increasingly important for B2B companies. If your business is eligible to pass credit card processing fees to customers, having surcharging built directly into your Sage 100 integration ensures it’s applied consistently and in compliance with card network rules.
Level 2 and Level 3 processing is a feature that often gets overlooked, but it has a direct impact on your bottom line. B2B card transactions qualify for lower interchange rates when enhanced data is passed at the time of the transaction. A processor that supports this automatically can reduce your effective processing costs in a meaningful way.
U.S.-based support is worth more than it sounds. When something goes wrong during setup or a transaction behaves unexpectedly, being able to reach a knowledgeable support team quickly matters.
How to Set Up Credit Card Processing in Sage 100
For AR managers, controllers, and IT teams managing this implementation, the setup process follows a clear sequence. Each step builds on the last, so skipping ahead tends to create issues that are harder to fix later.
Step 1: Choose a payment processor built for Sage 100.
This decision shapes everything that follows. A processor with a native Sage 100 integration will have a defined installation process, documented GL mapping, and direct support for Sage-specific workflows. Ask providers specifically how their integration handles refunds, voids, and chargebacks inside Sage 100 before committing.
Step 2: Install the integration and connect your merchant account.
Most native integrations are installed as a module directly inside Sage 100 software. You’ll confirm version compatibility, run the installation, and then authenticate your merchant account to establish the connection between your processor and your Sage environment.
Step 3: Map your GL accounts.
This is one of the most important configuration steps, and it deserves careful attention. Payment types need to map to the correct general ledger accounts, clearing accounts need to be set up for card transactions, and the handling of refunds and chargebacks needs to be defined. Getting this right during setup means your books are accurate from the first transaction. Getting it wrong means cleaning up months of posting errors later.
Step 4: Configure payment methods and surcharging.
Enable the payment types your business accepts, set any transaction limits or approval thresholds, and configure surcharging if your business passes credit card processing fees to customers. Surcharging rules vary by state, so confirm compliance requirements for the states where your customers are located before turning it on.
Step 5: Enable tokenization and review your security settings.
Card vaulting lets customers store a payment method securely for future transactions, which is particularly useful for repeat business and autopay setups. Confirm that tokenization is active and that your integration is PCI-compliant, specifically that card data isn’t being stored anywhere in your Sage 100 environment.
Step 6: Set up the customer-facing payment experience.
If your payment processing solution includes a customer portal, now is the time to configure it. Set up branding, define which invoices are visible to which customers, enable autopay options, and configure automated payment reminders. The goal is a portal experience that your customers can use without needing to contact your AR team.

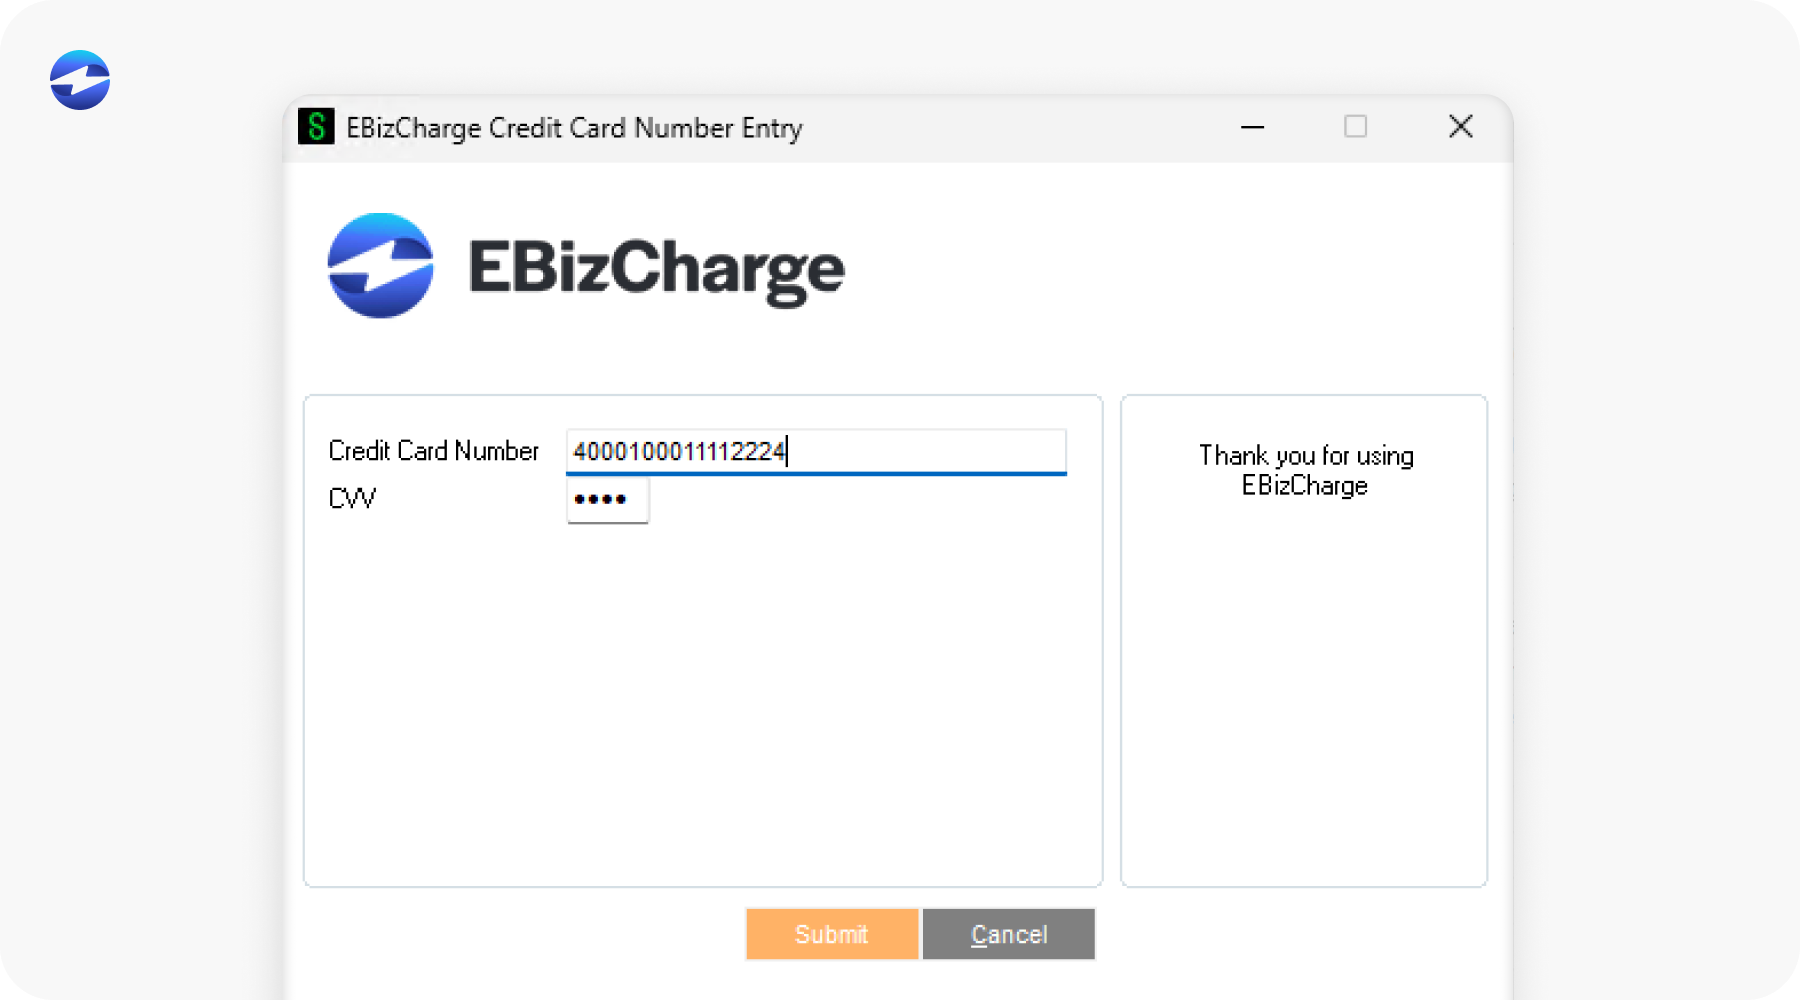
Step 7: Run test transactions before going live.
Process a test charge, confirm that it posts to the correct GL account, and verify that the invoice status updates in Sage 100 as expected. Check refund and void handling as well. This step takes a couple of hours and prevents a much larger problem down the road.
Step 8: Train your team.
AR staff need to know how to process payments, issue refunds, handle disputes, and pull transaction reports. IT needs to know where the integration lives and how to escalate support issues. Management needs to know what reports are available. A quick internal walkthrough before go-live is worth the time.
Surcharging and PCI: Two Areas That Deserve Extra Attention
Surcharging is legal in most U.S. states for business-to-business (B2B) transactions, but it has to be implemented correctly. Card networks require disclosure to customers before a surcharge is applied, and the surcharge amount must remain within defined limits. A properly configured Sage 100 integration handles all of this automatically, but it’s worth understanding the rules, so your team can answer customer questions confidently.

PCI compliance is something businesses often underestimate. Being compliant isn’t the same as being validated, and the level of validation your business needs depends on how card data flows through your environment. The simplest path is choosing a payment processor that handles tokenization and is itself PCI DSS validated, which keeps your team’s compliance burden as low as possible.
What Changes After Setup
Once Sage 100 credit card processing is configured correctly, the day-to-day impact is straightforward. Payments are posted automatically. AR stops chasing manual entries. Month-end close gets faster because reconciliation is happening continuously rather than all at once. DSO tends to drop because customers have more convenient, flexible ways to pay.
For finance leadership, the bigger benefit is visibility. When every transaction is posted directly into Sage 100 ERP in real time, your AR aging report is actually accurate. Cash flow forecasting gets easier when you’re working with clean, current data.
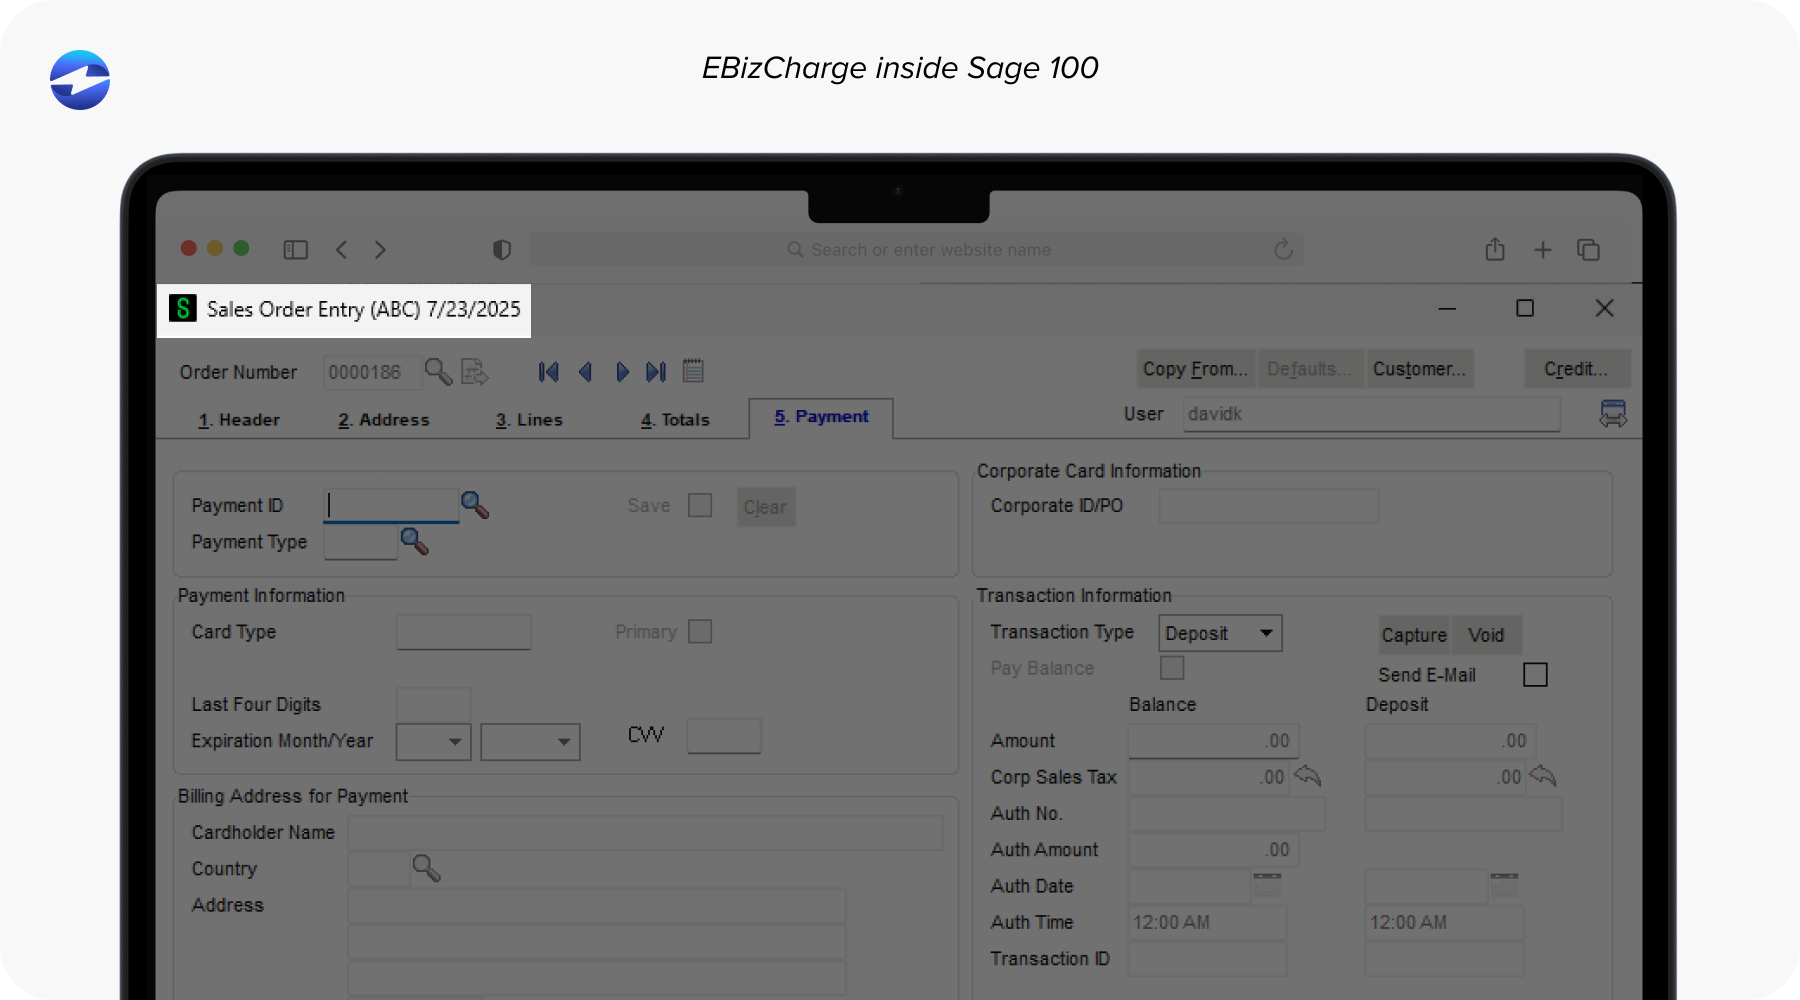
How EBizCharge Works Inside Sage 100
The EBizCharge payment processing integration is built as a native Sage 100 integration, meaning it operates inside the Sage 100 environment rather than connecting to it from the outside. Payments post directly to Sage 100 in real time, invoices update automatically, and your team doesn’t have to touch anything to make the books match.
The platform supports credit card, ACH, and eCheck processing, includes a branded customer payment portal, handles surcharging and Level 2/3 data automatically, and comes with 24/7 U.S.-based support. With over 20 years in the payment processing space and deep experience in ERP environments, EBizCharge is built specifically for the workflows that Sage 100 users deal with every day.
If your team is still manually reconciling card payments or working around a processor that wasn’t designed for Sage 100 software, the setup process described in this guide is the most direct path to fixing that.

