Video Center > Salesforce Tutorials > Salesforce
How to Create a Sales Report in Salesforce Easily
How to Create a Sales Report in Salesforce Easily
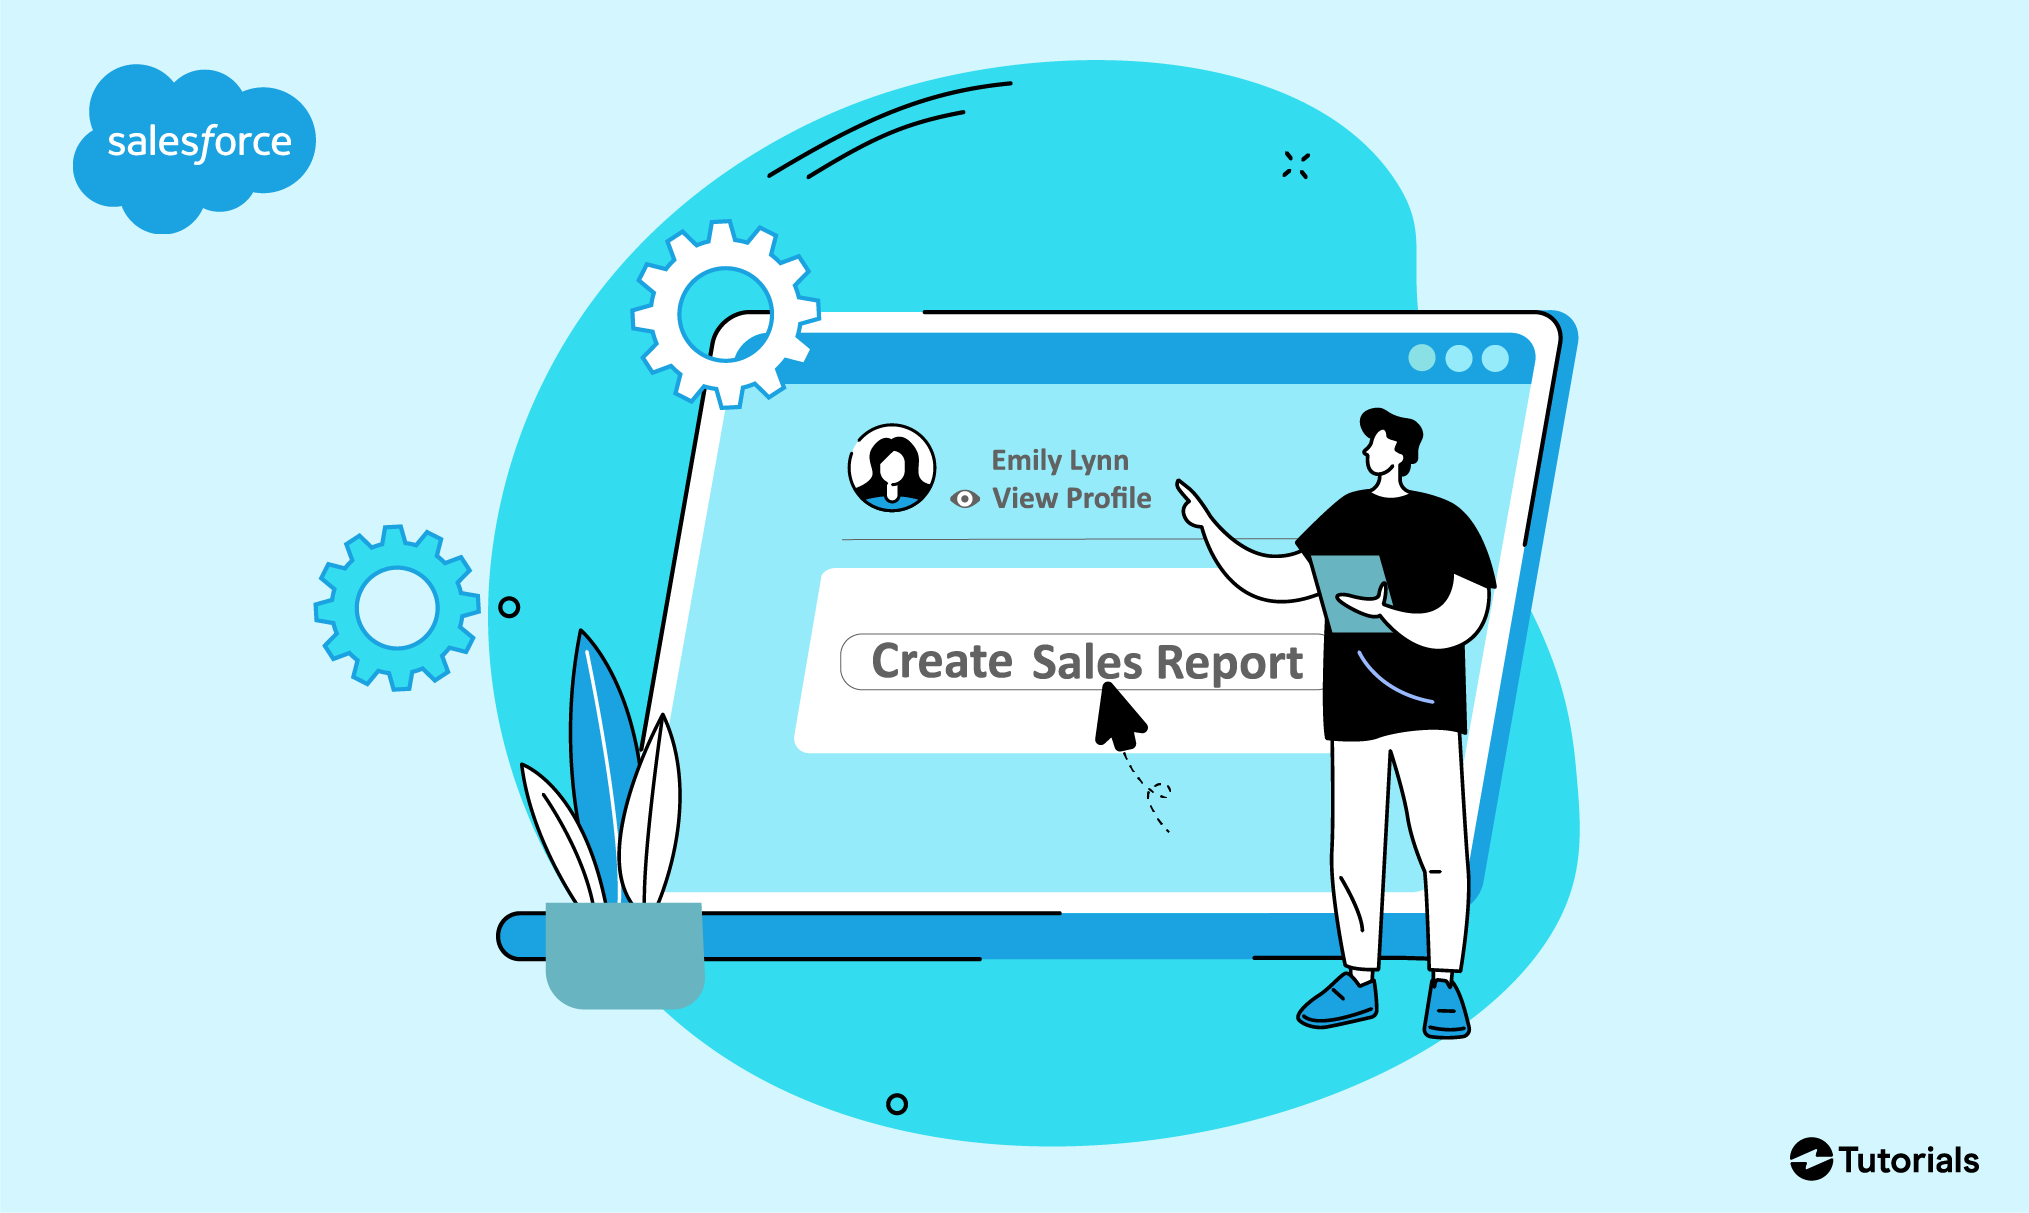
In this video, we’ll be showing you how to create a sales report in Salesforce with a few easy steps.
Creating a Sales Report in Salesforce in 5 simple steps
Creating a sales report in Salesforce is an effective way to display complicated information in an intuitive and simplified way to your sales team.
Below are the 5 steps for creating a sales report in Salesforce…
- From the Sales Console homepage using the Salesforce Lightning Experience, select Reports from the dropdown menu at the top of the screen.
- Then, on the Reports homepage, click New Report at the top right of your screen.

- You can then select the type of report that you wish to run. Once you’ve selected your desired report, click Continue.

- Once you’ve chosen the report you want to run, you can add any filters to customize the report.

- Finally, select Save & Run at the top right of your screen once you’re ready to run the report.
Conclusion
To create a sales report in Salesforce! From the sales console homepage, click the down arrow and select the reports tab. From here, you can see an overview of all the reports your team has previously run. Select a new report.
Creating a report in Salesforce is simple and a great way to display technical data and information to your sales team. Following these steps will guide you in the right direction towards effectively using this tool in Salesforce.
Salesforce Integrations: Enhance Your Workflow
Did you find this tutorial helpful? Streamline your Salesforce experience even further with a Salesforce payment processing integration. Explore how integrating Salesforce with tools like EBizCharge can enhance your workflow, automate processes, and boost productivity. Unlock the full potential of your Salesforce environment today!