Video Center > Salesforce Tutorials > Salesforce
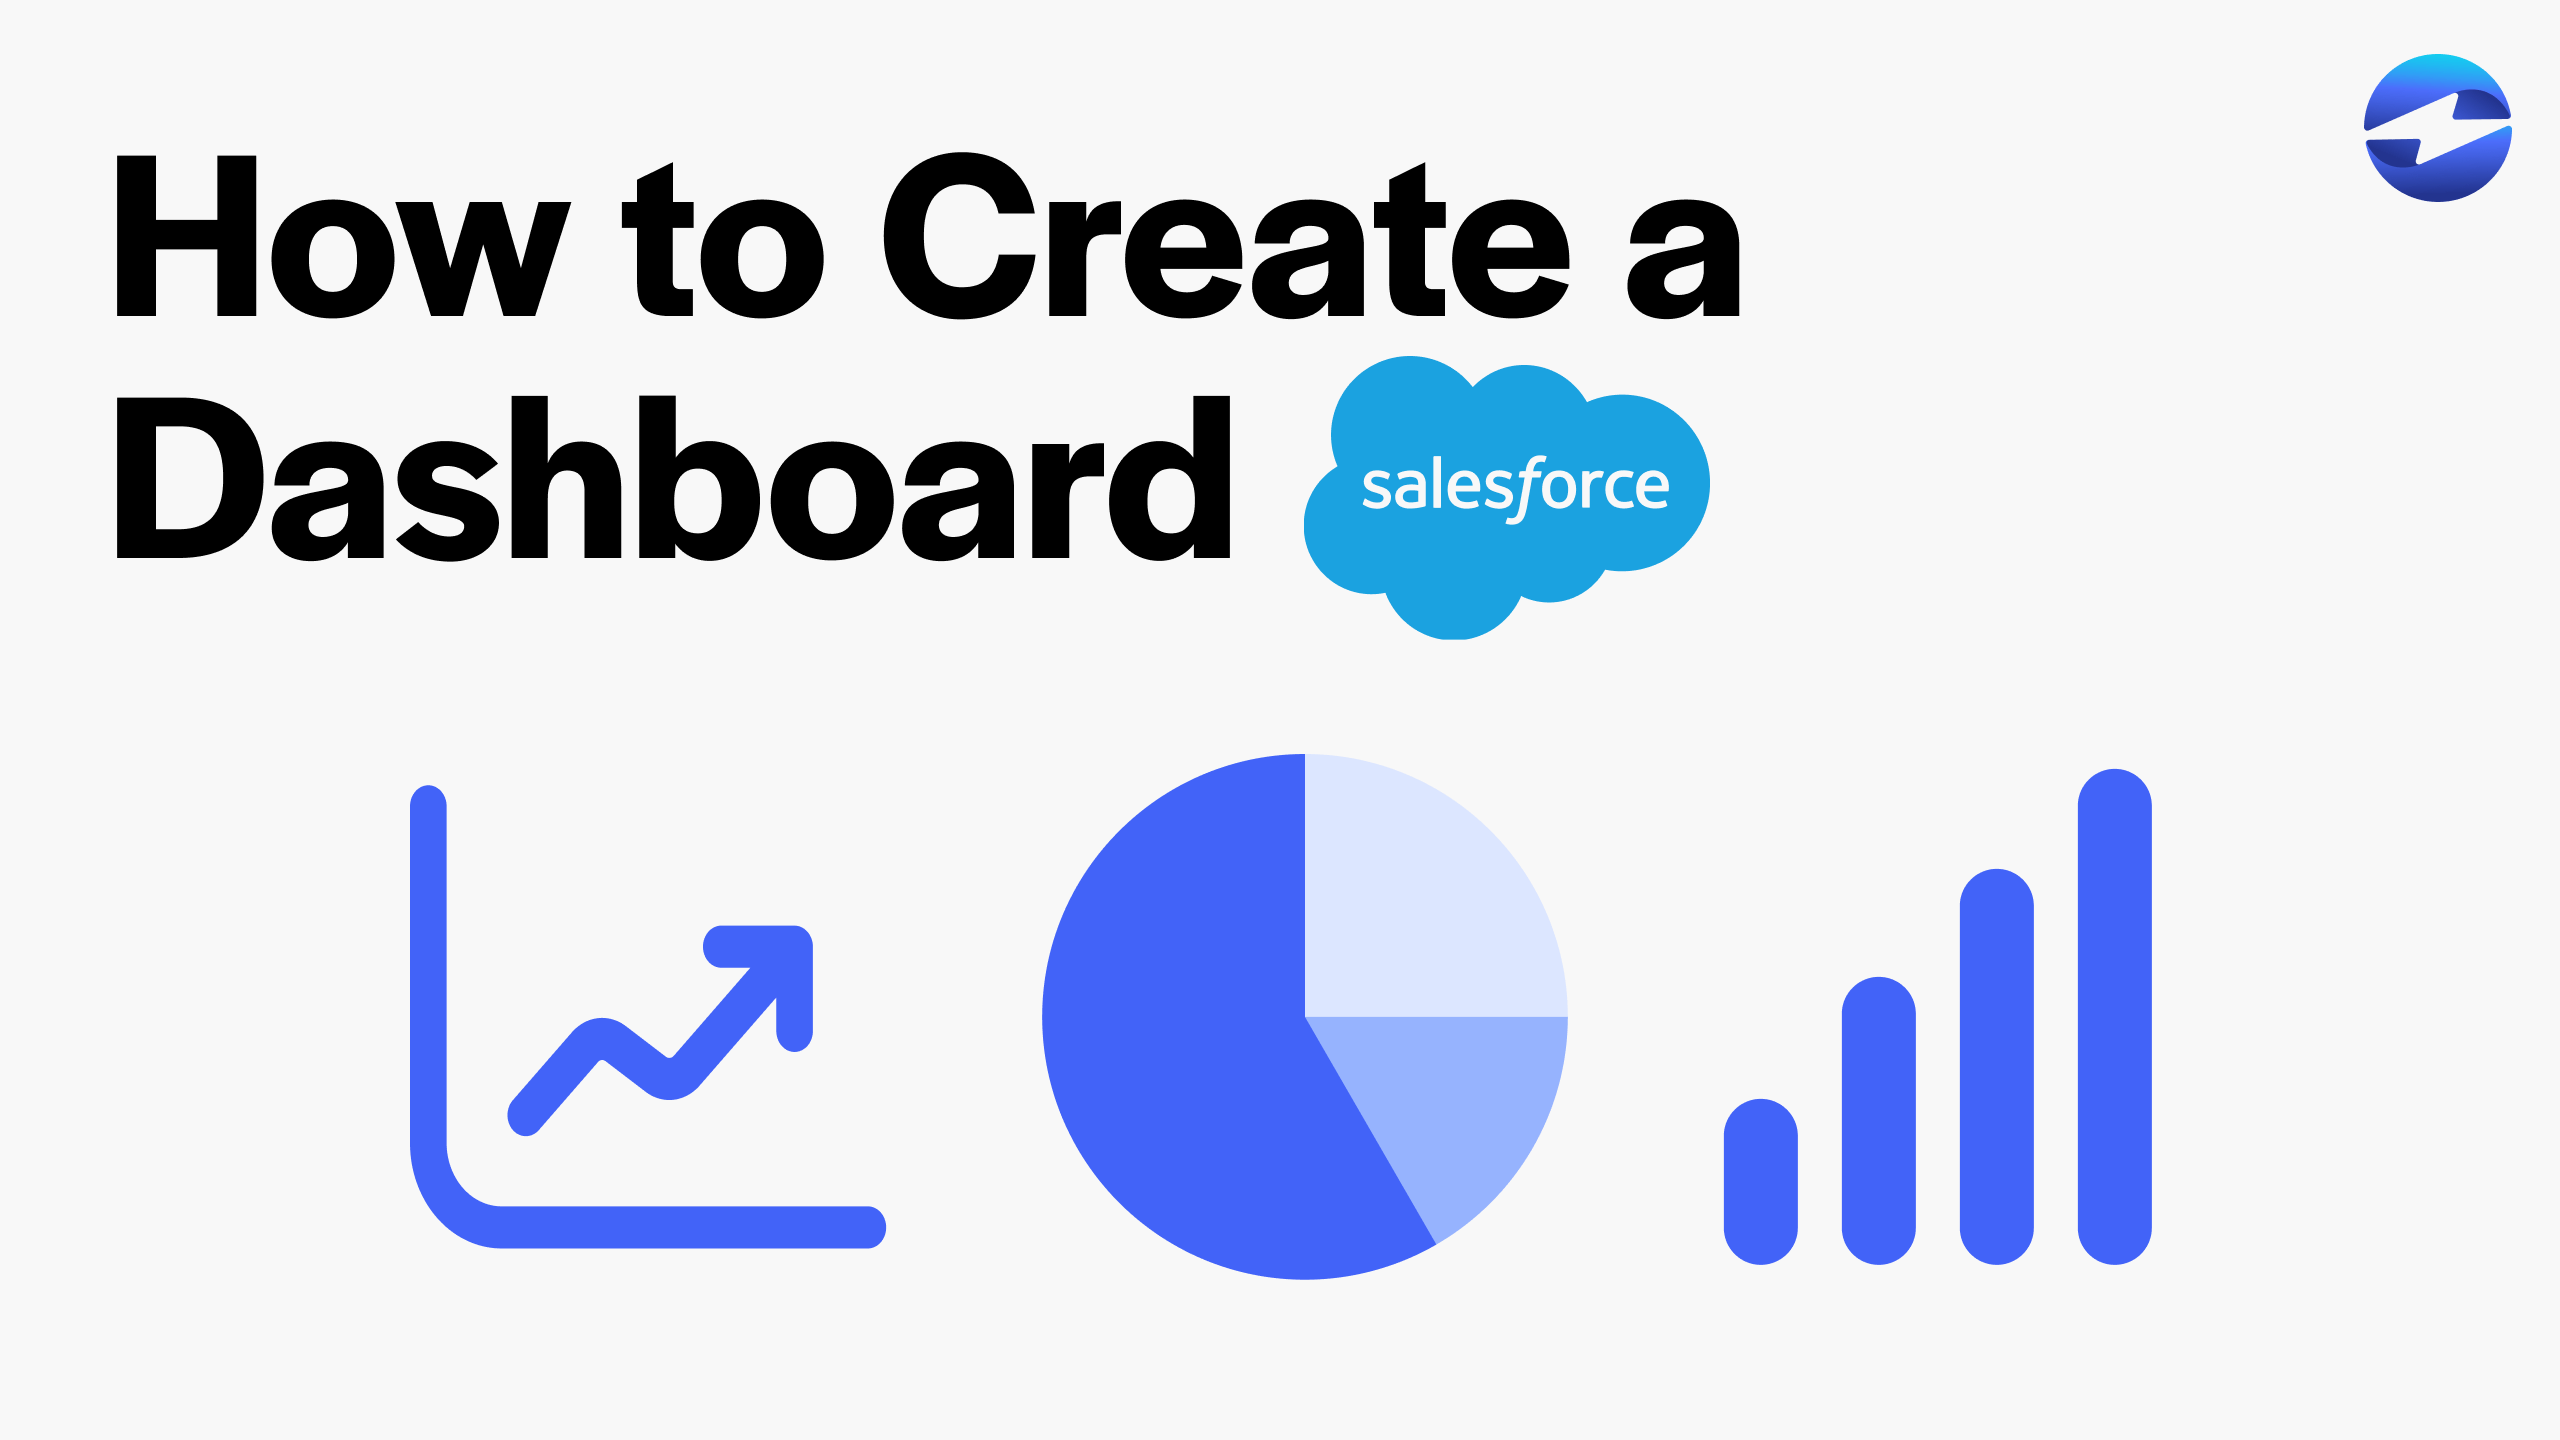
How to Create a Dashboard in Salesforce Quickly!
How to Create a Dashboard in Salesforce Quickly!
This video describes the essential steps of creating a dashboard in Salesforce so you can showcase quantitative data in a simplified and visually appealing way.
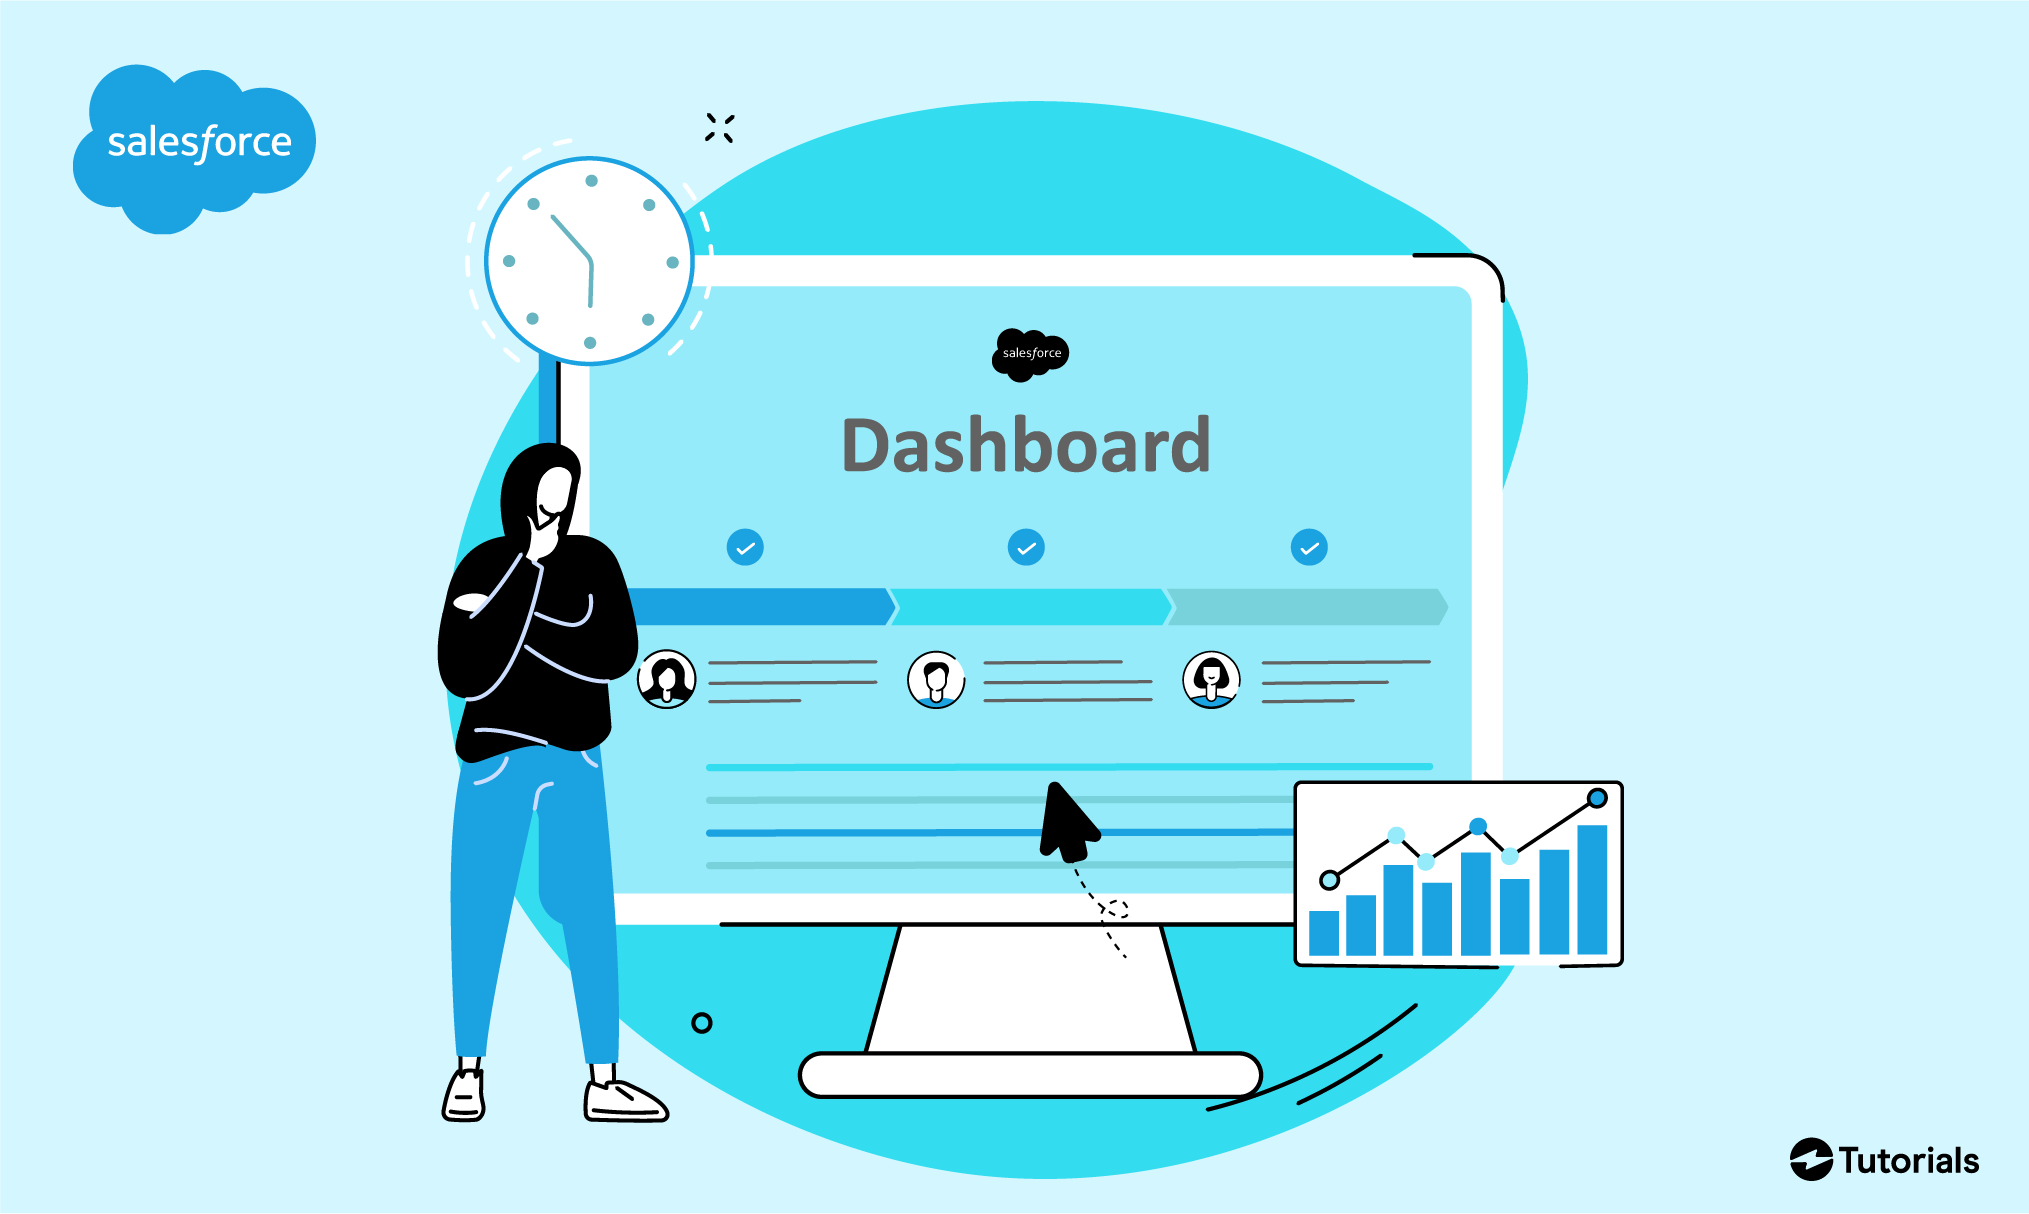
Creating a Dashboard in Salesforce in 7 Effortless Steps
Creating an attractive dashboard is important for many different reasons.
One of the main reasons is that you’re able to display and showcase complicated quantitative datasets or lead information in a simplified graphical manner. This attracts the attention from your employees and makes it easier to display future goals.
Below are the 7 simple steps to create a dashboard in Salesforce…
- From the main home screen in the Salesforce Lightning Experience, navigate to the top of your screen and select Dashboards.
- On the dashboard home page, you can see a list of all the dashboards your company has created. To create a new dashboard, select New Dashboard on the top right.
- Enter in the necessary information.

- To add different features and graphics to your dashboard, select + Component.
- You can then select the information and data that you wish to use for your dashboard. Once finished, hit Select.

- Customize your dashboard with different types of graphs.

- Finally, once you’ve added all of the charts and graphs, you can organize them how you wish and make the dashboard look nice. Once finished organizing, select Save and you’re good to go!
Conclusion
To Create a Dashboard in Salesforce Quickly! From the sales homepage, select the dashboards tab, and you can create a new one instantly! Creating a dashboard in Salesforce is an important feature to utilize to showcase technical information to your team in an attractive graphical way.
While you can customize your dashboard in a multitude of ways, these 7 steps prepare you to set up an attractive dashboard for your team.
Salesforce Integrations: Enhance Your Workflow
Did you find this tutorial helpful? Streamline your Salesforce experience even further with a Salesforce payment processing integration. Explore how integrating Salesforce with tools like EBizCharge can enhance your workflow, automate processes, and boost productivity. Unlock the full potential of your Salesforce environment today!